How to paint an embroidery hoop
Why paint your hoop?
Painting your embroidery hoop is a simple, cheap and effective way to personalise your finished stitching. You can choose a colour to compliment your stitching or the room in which the hoop will be hung.
NOTE - we recommend that you only use your painted hoop as a frame rather than a working embroidery hoop as there is a small risk of colour transfer from the hoop to the fabric with the movement of your stitching.
Things you’ll need
- An embroidery hoop
- Some acrylic paint
- Clear acrylic sealant spray or paint
- Paint brush
- Newspaper or similar to protect your surfaces

Step one - apply paint
Make sure you are either outside or in a well ventilated room before you start. Use newspaper to protect your surfaces.
Apply the paint to the outer hoop only (no need to paint the inner hoop as it will not be seen). Paint the outside edge and the sides carefully. There is no need to paint the underside as this will not be seen.

Step two - leave to dry
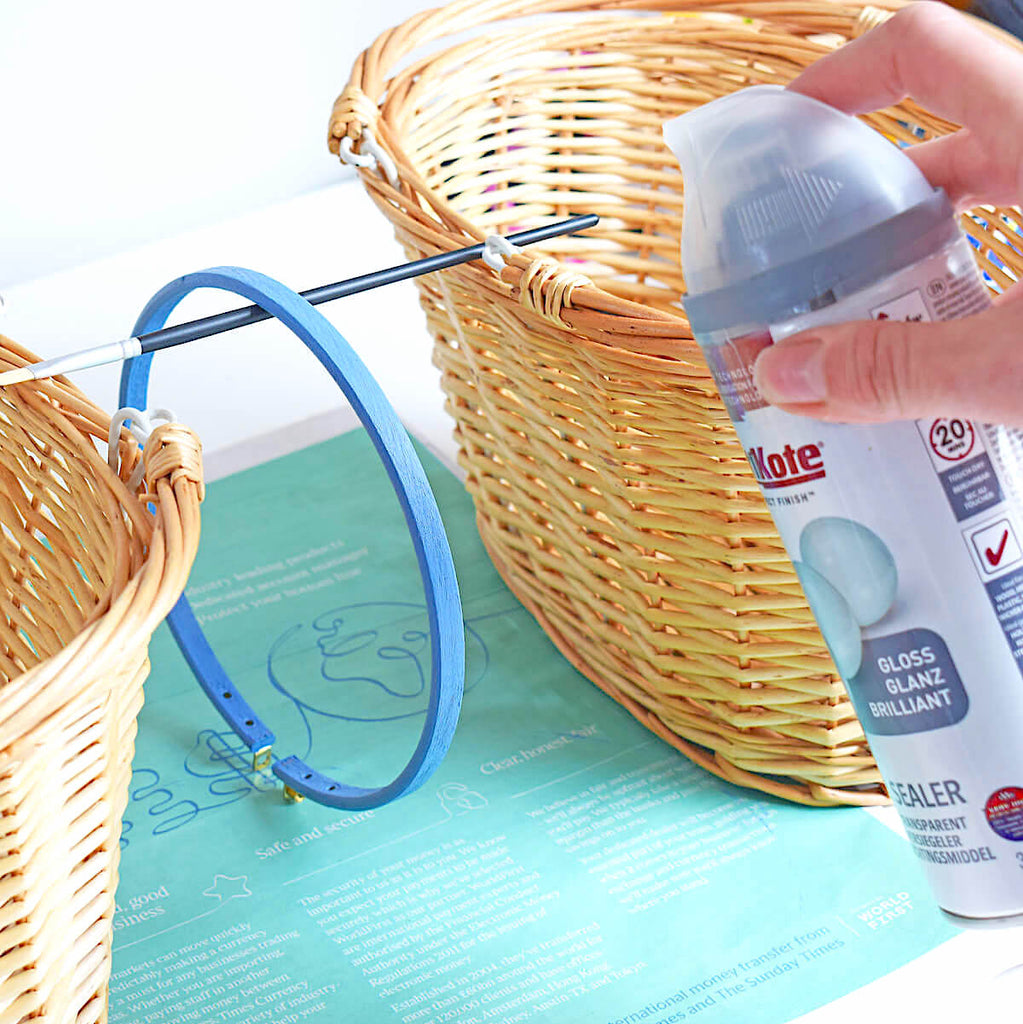
You can use your paint brush propped between two tall items to hang your hoop to dry which should take a couple of hours. If after this time you are unhappy with the coverage of the paint, give your hoop a gentle sand and apply a second coat.

Take care when painting around the metal fixtures on your hoop. Acrylic paint doesn’t like to stick to metal and it is easy to scrap away with a nail or toothpick once dry if necessary.

Step three - seal and finish
Making sure your location is well ventilated, rehang your hoop using your paintbrush as before and spray with your sealant. (This step isn’t 100% necessary but I find it reassuring to lessen the risk of any colour transfer from the painted hoop to your finished stitched fabric.)

Leave to dry for 24 hours, then use to frame your stitched piece. See our ‘how to frame in an embroidery hoop’ tutorial for more help on this.


