How to cross stitch
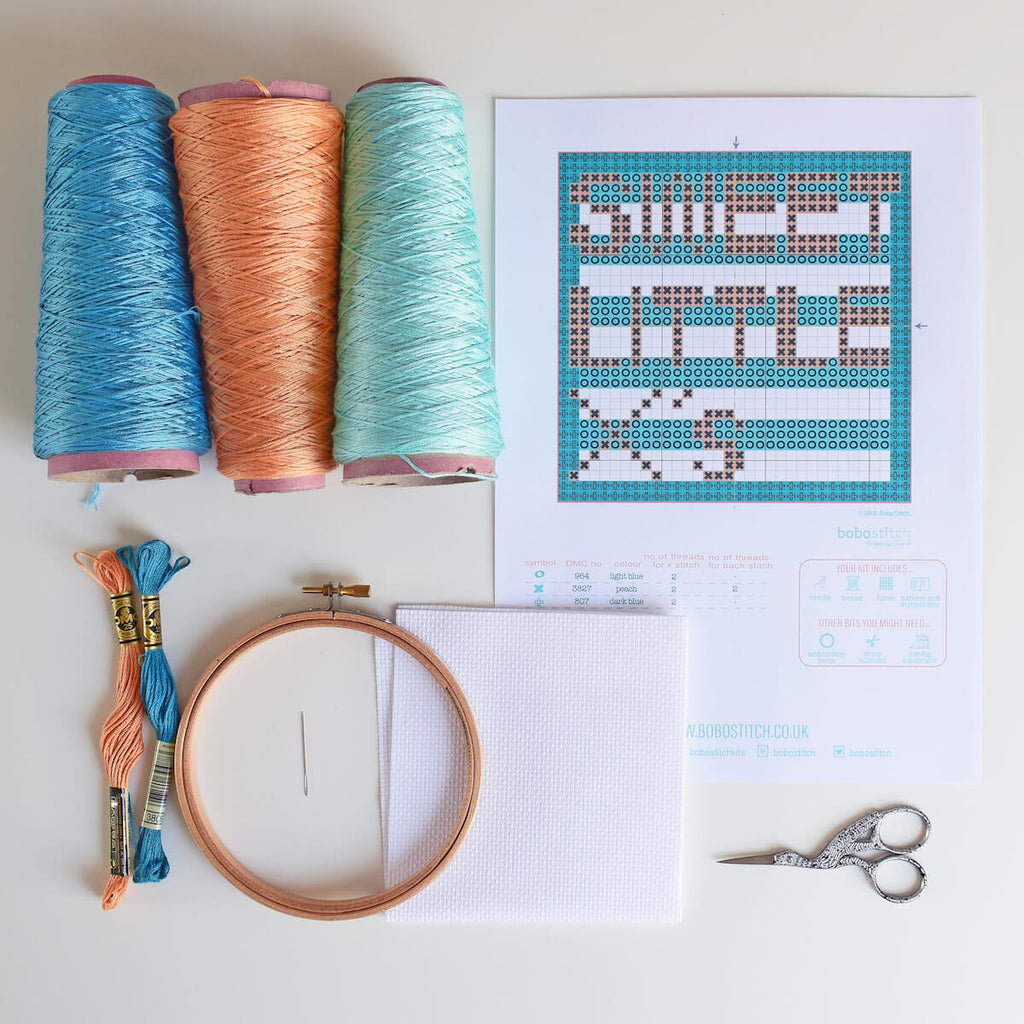
Things you'll need
- Stranded embroidery thread - DMC is our favourite brand
- A cross stitch pattern - we hear Bobo Stitch have awesome ones!
- A needle - choose the right size for your fabric and project
- Cross stitch fabric - linen, aida or evenweave are all standard choices
- An embroidery hoop
- Embroidery scissors
Things that will help
- Good light
- A comfy chair
Step one - find the middle
Always begin your cross stitch in the centre of the fabric. If you start close to the edge of your fabric and you have accidentally miscounted the number of stitches, you may well find you run out of material and many hours of lovely stitching has been wasted.
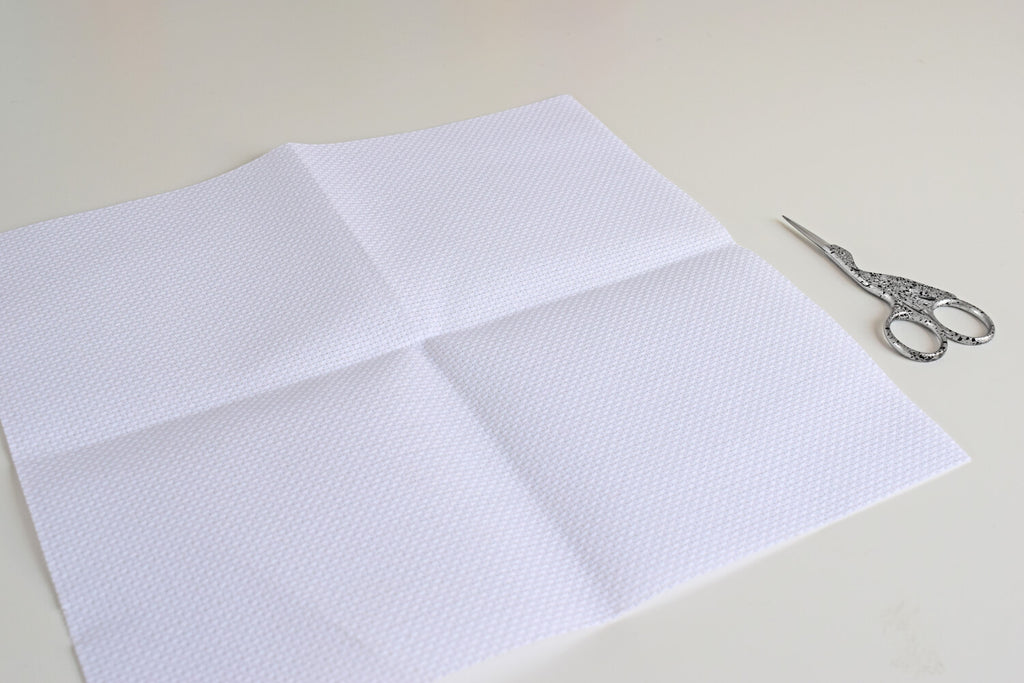
To find the centre of your fabric, simply fold it in half vertically, then in half horizontally (so into quarters) making sure you create sharp creases in the fabric. Unfold and where the creases cross is the centre.
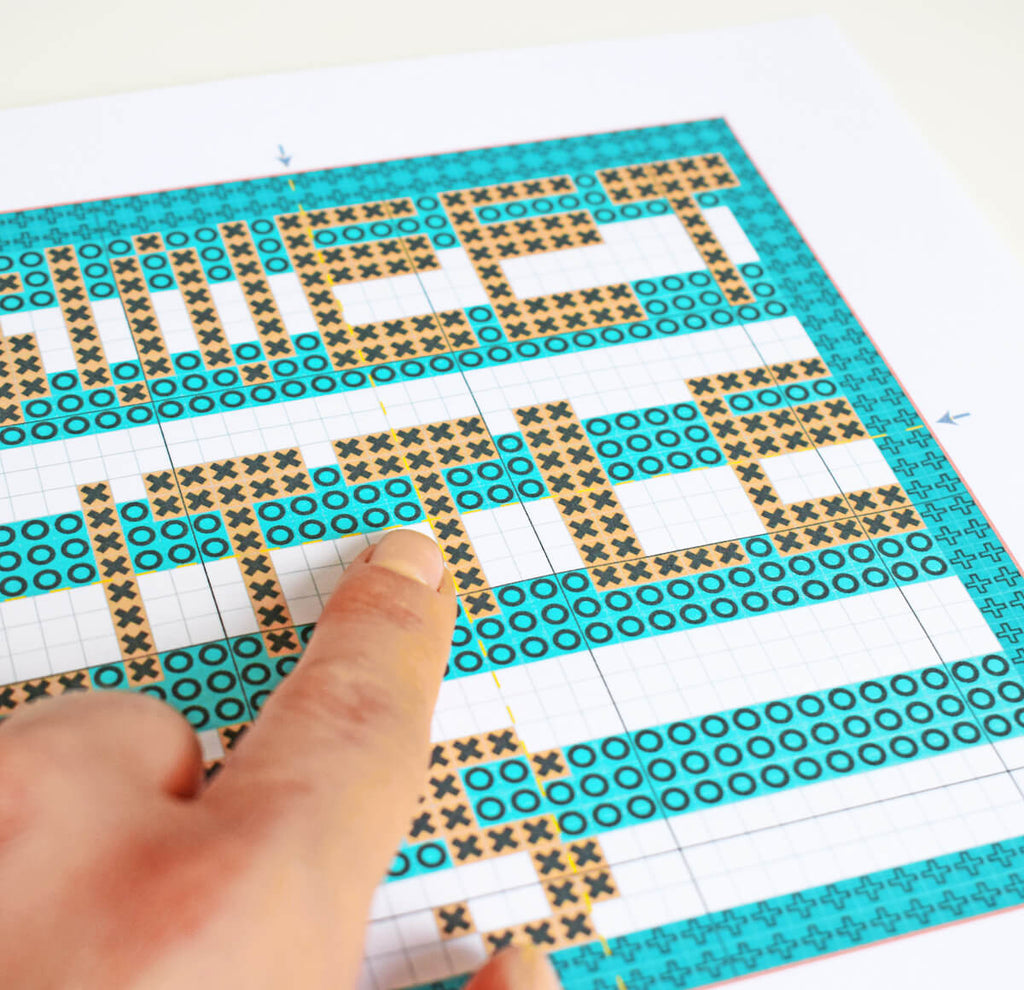
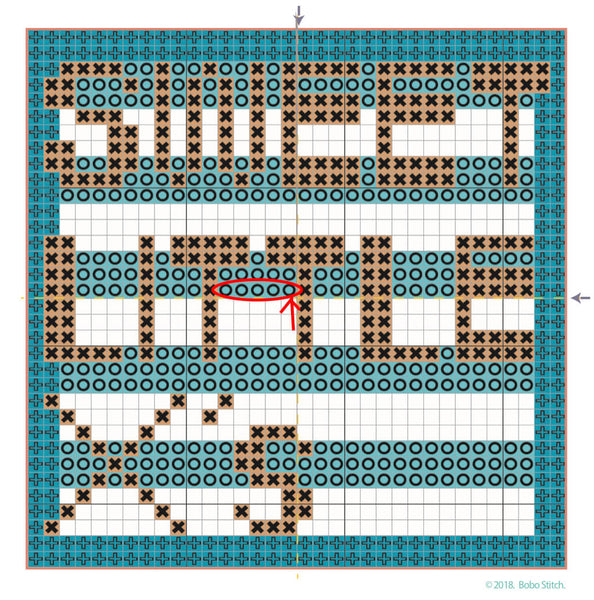
 Now find the centre of your pattern so that you know where to begin. We have a whole tutorial dedicated to cross stitch patterns and how to decipher them, but for now you just need to find the centre of the pattern using the dotted line of arrows on the side of the image.
Step two - prepare your thread.
Now you need to thread your needle. Firstly choose the thread colour that you will be starting with (check your pattern). Embroidery thread is 'stranded' which means that there are 6 strands of cotton within each piece of 'floss' or thread. First of all pull a length of thread from the skein (what you call one bundle of the thread and how you will buy it from the shop).
TOP TIP
When using DMC thread, you will see that there is a cut end at both ends of the skein. When you want to cut a length of thread, pull it from the end of the skein that shows the colour number as shown below, otherwise your skein will ruck up and tangle the further you pull the thread.
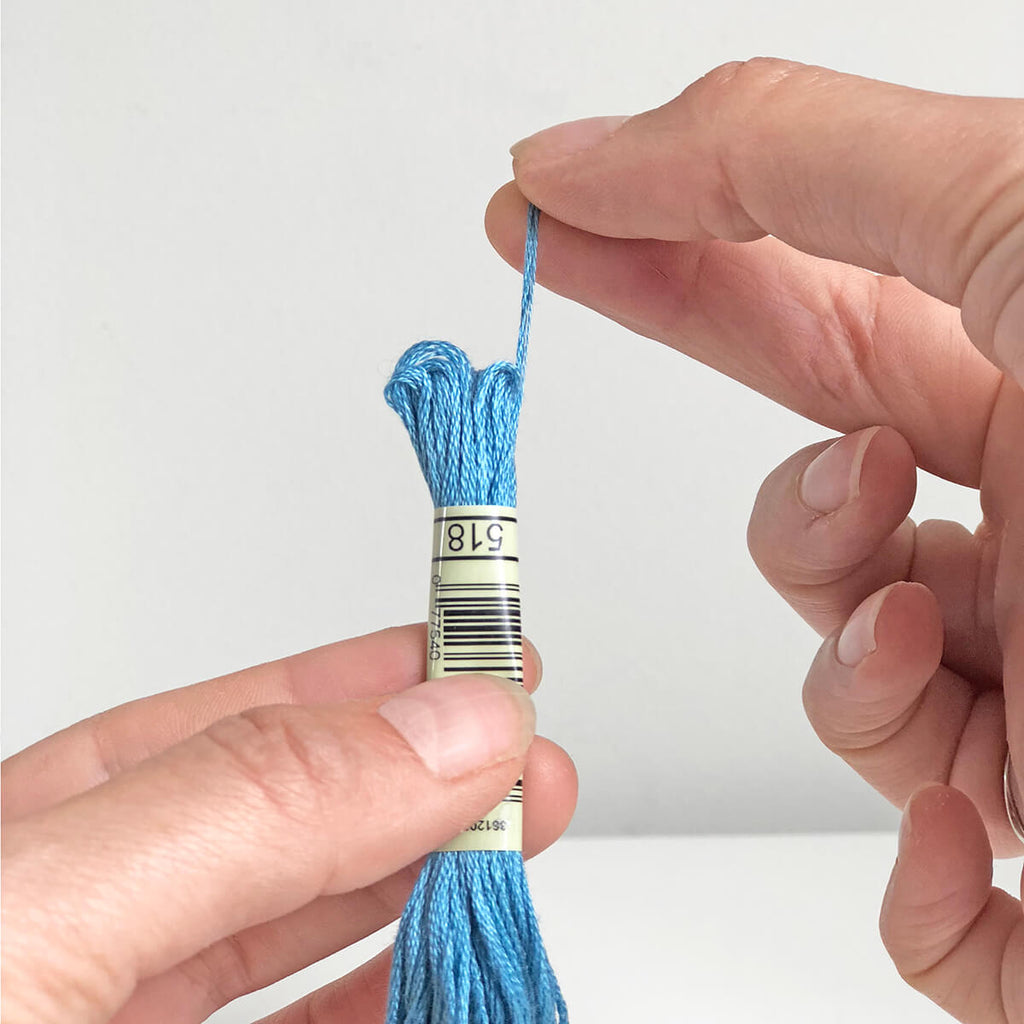 In this example our pattern calls for two strands of thread to be used for each cross stitch so we are going to begin with a knotless start or a loop start (no knots are used in cross stitch. It can make the back of your project all lumpy and so are best avoided). You can use a knotless or loop start where even numbers of thread strands are needed. Pull a length of thread about as long as your arm from wrist to shoulder. Use your embroidery scissors to snip the end of the thread.
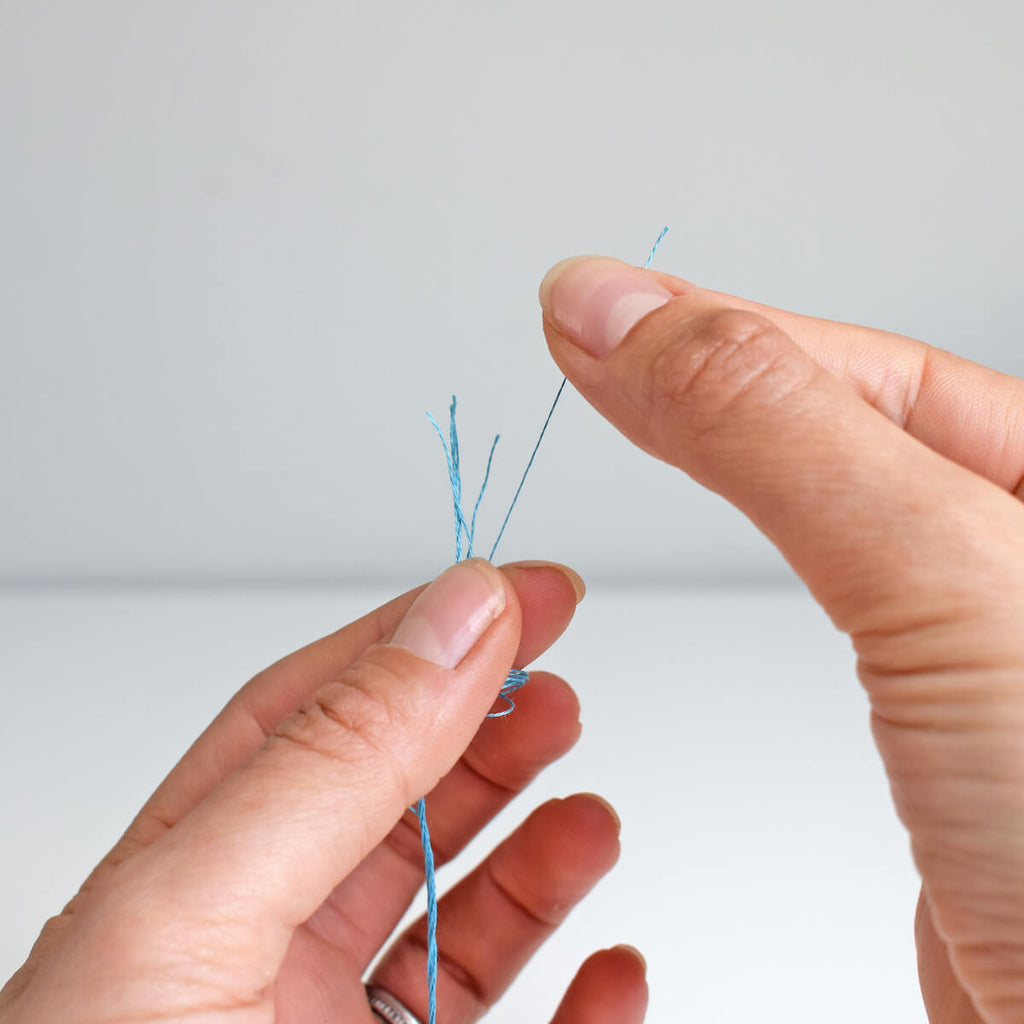
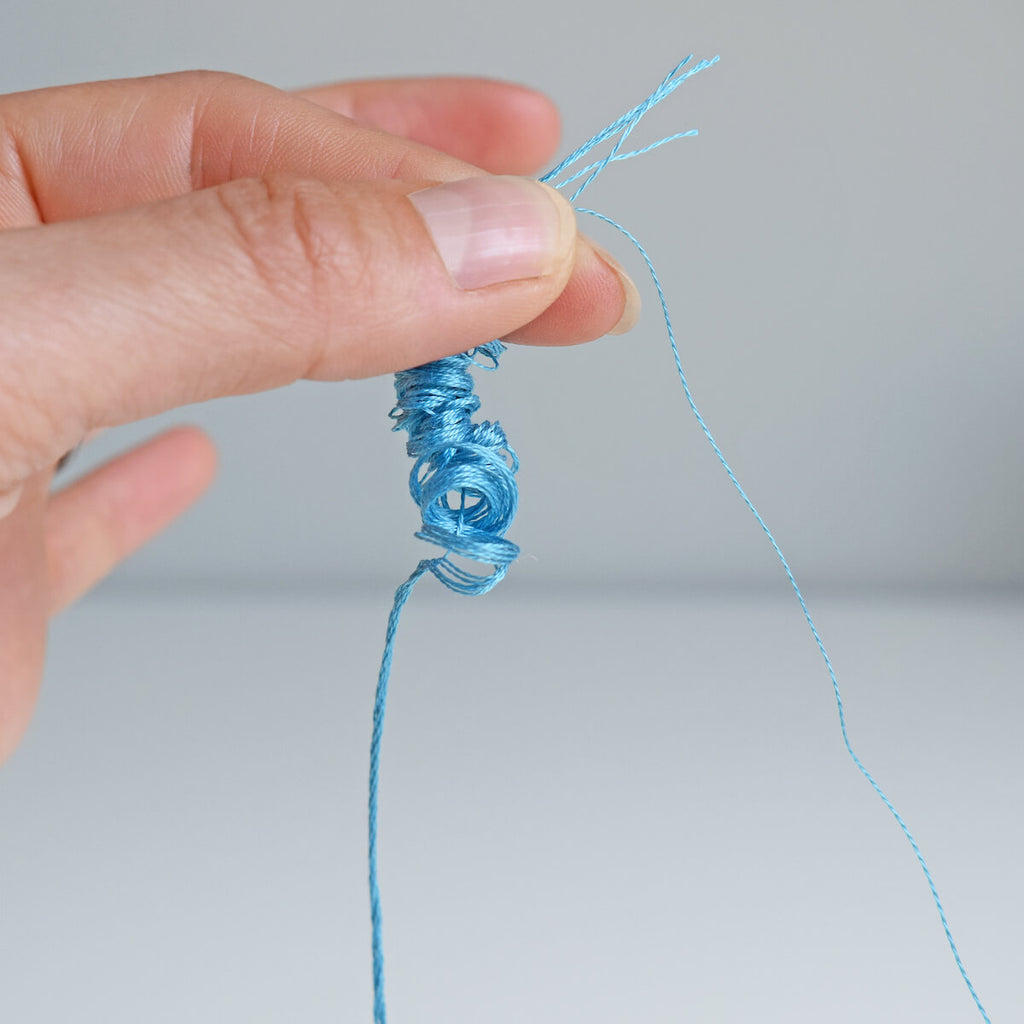
Grip the thread with your thumb and forefinger with one hand and use the other to gently pull one single strand clear of the rest of the thread. Do this in one smooth upward motion. The thread will start to ruck and wrinkle under your thumb but don't worry. Once your single thread is clear, this will drop back down without any knots or tangles.
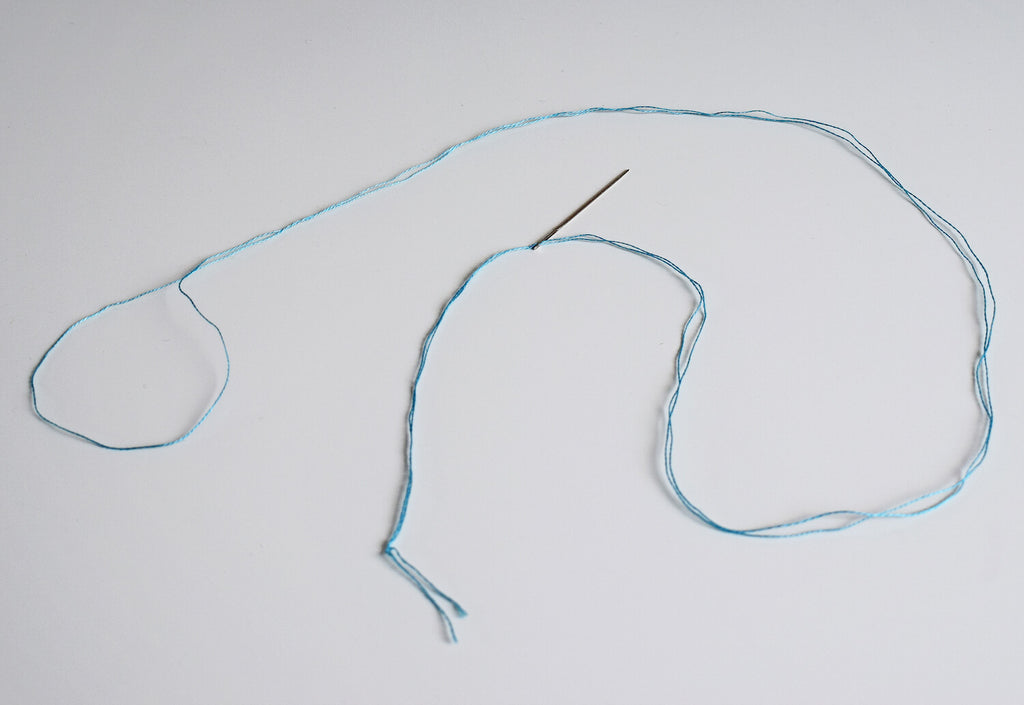
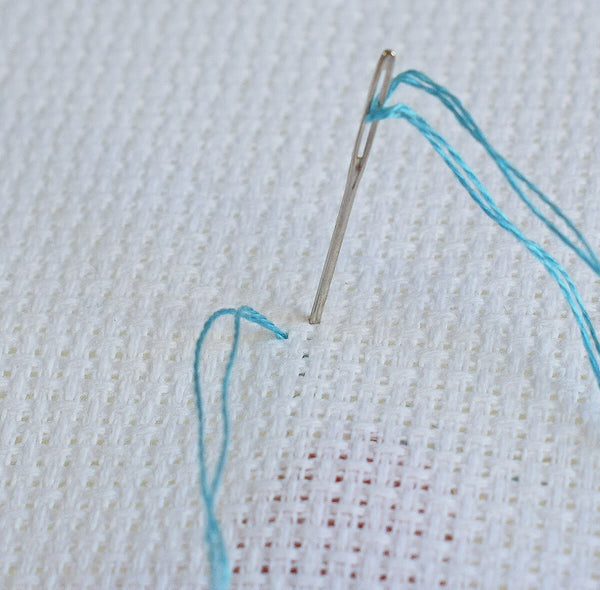
 Once you have one single thread, fold it in half and thread the two cut ends together through your needle leaving a loop at the other end.
Now refer back to your pattern - we are going to start just left of the centre as shown with the red arrow on the image below and we are going to stitch the five stitches circled first.
Step three - begin stitching
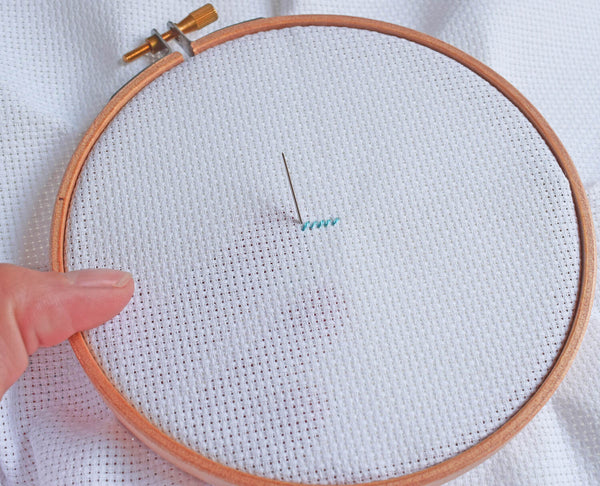
Place the centre of your fabric into an embroidery hoop and bring your needle up through a hole in the centre of the fabric.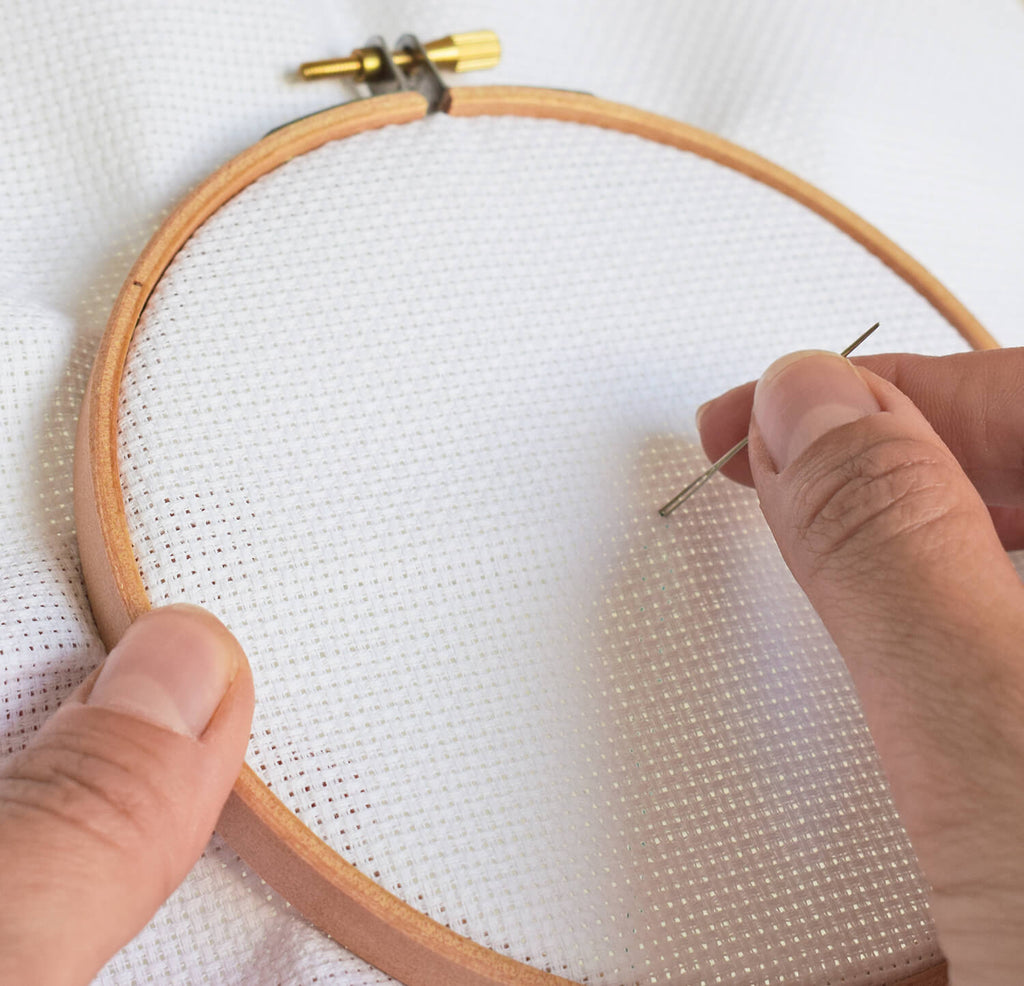 Draw your thread nearly all the way through then turn your hoop over. Catch the last two or three inches of the hoop end at the rear of the fabric before it passes through the hole and hold it under your thumb.
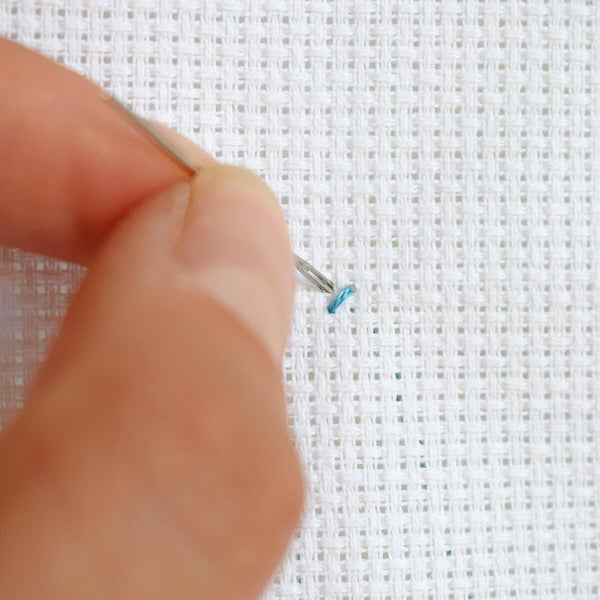
 Now turn the fabric back around so you are looking at the right side, still holding onto that thread at the back. Push the needle back down through the fabric, in the hole diagonally up and to the right to make a short diagonal stitch.
On the reverse of the fabric, pass the needle through the loop of thread that you have been holding with your thumb.
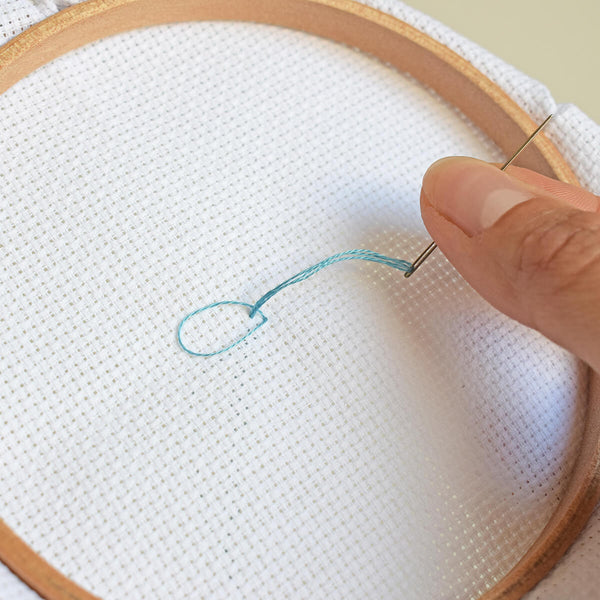
Now pull the thread taut and the loop will catch it and hold it secure.

And there you have it . Your knotless loop start and your first half stitch is complete.
TOP TIP
All of your first half stitches now must lay in this direction in order to get a neat finish. If you don't stick to this rule, you will finish a project which looks ok, but when you look closely at it, you will realise that something isn't right but it won't be obvious what the problem is. All of your stitches must always lie in the same direction. In our example, we are stitching bottom half stitches so they lie from bottom left corner, to top right. You can stitch the other way around if you wish (so stitches lie from bottom right to top left) and that's absolutely fine, but all your bottom stitches must lie in the same direction! Have I banged on about that enough? Yes. Fab.
Now turn your fabric over so you are looking at the front once again. Bring your needle back up through the fabric in order to start your next half stitch as shown below. Cross stitches are stitched immediately adjacent to one another with no gaps (unless there is a gap in the pattern!)
Now send the needle back down through the fabric in order to create a second half stitch lying in the same direction as the first.

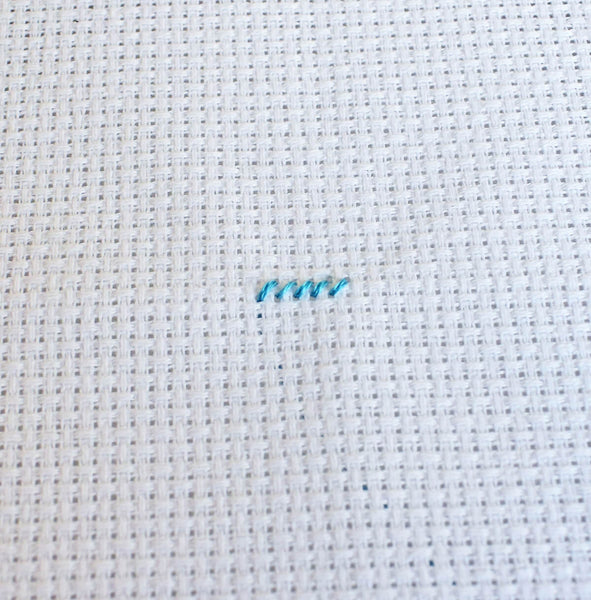
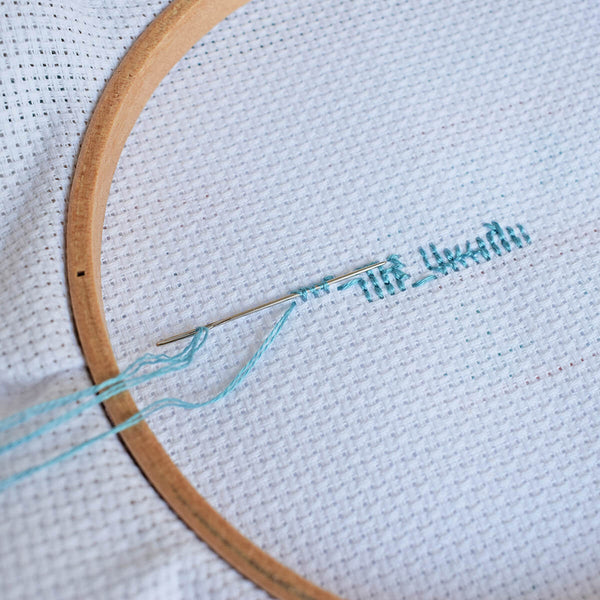
Continue this way, stitching from right to left, until you have five half stitches in a row as indicated in your pattern.
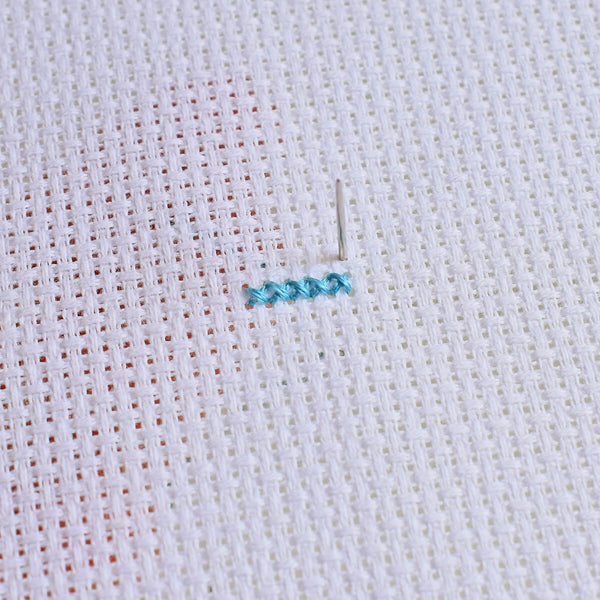
The back of your fabric should now look something like this, with vertical straight stitches. Don't worry too much about what the back of your fabric looks like. It's nice to have a 'tidy backside' but in reality as long as you don't have lots of knots and tangles it really doesn't matter what this bit looks like. Only you will know!

Now bring your needle up through the fabric as though you were about to stitch another half stitch in the same way.
But this time, bring your needle back down through the fabric so that you form your first cross stitch.

Continue this way along the row until you have completed your first five cross stitches. Bravo! You've done your first row of cross stitches. Simple hey? It's just a small stitch that looks like a cross - who'd have thought! Now you can move up a row and do the same thing again.
In the next tutorial we give you help in how to move around a pattern. For now let's just show you one more thing. What to do to 'fasten off' your thread when you finish a block, get to the end of a thread or want to change colours.
Step four - fastening off
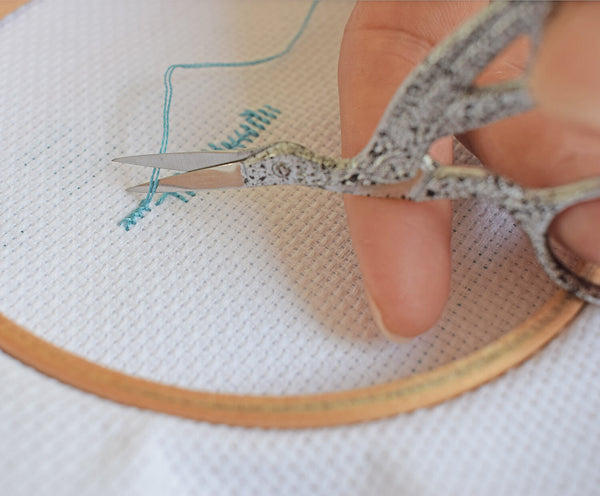
Fastening off gets more tricky the shorter your thread is, so be sure to stop stitching with enough length left to do this comfortably. In our example we have finished a colour block and so need to secure the thread and change colour. So when you are ready simply turn your fabric over and thread your needle underneath three or four stitches.
Pull the needle through and pull the thread taut, then snip your thread to leave only a tiny loose end. Again no knots are used and this is enough to keep your thread firmly secure.
And that's it. The very basics of cross stitch mastered!