How to frame cross stitch in an embroidery hoop

Why frame in a hoop?
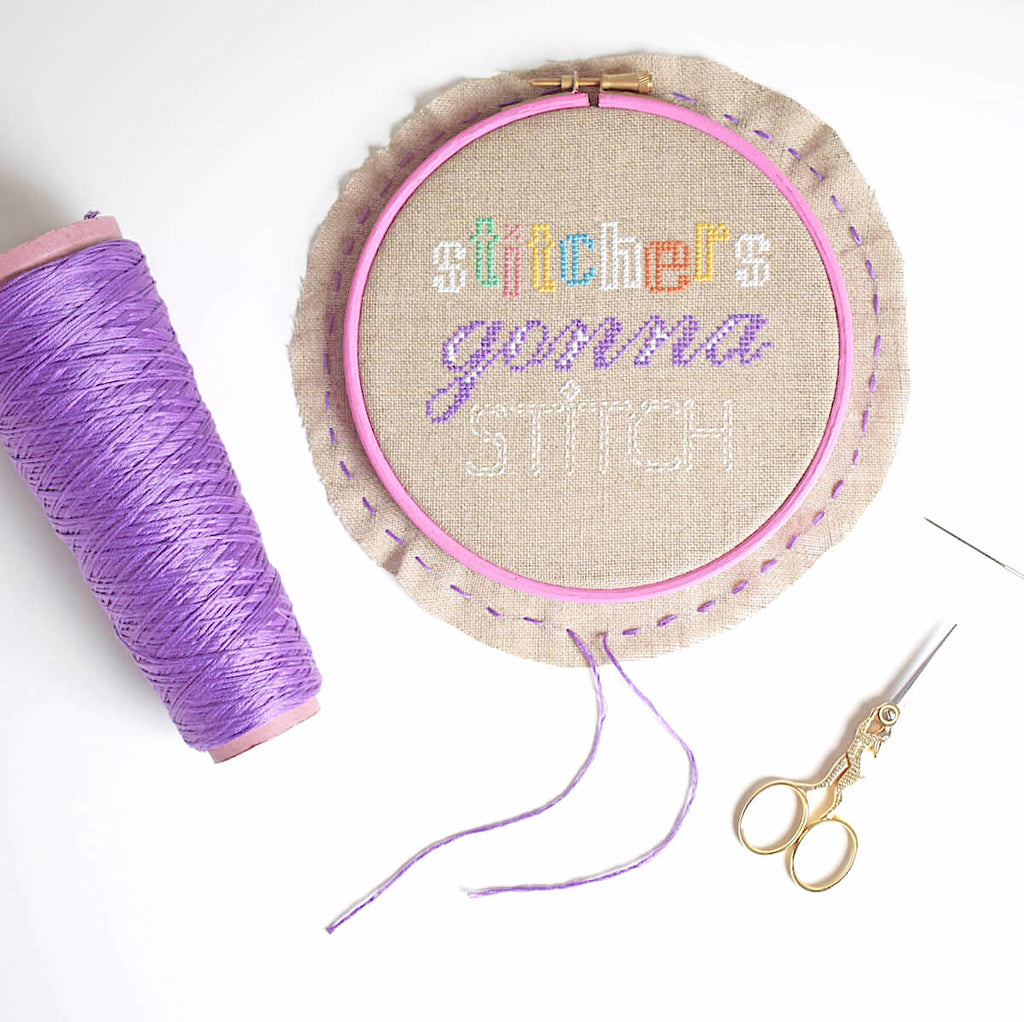
Framing in a hoop is a simple, cheap and effective way to show off your finished stitching and there are lots of cross stitch patterns that look great displayed in a hoop. There are also lots of ways that you can decorate your hoop and really add an extra layer of personalisation. See our hoop decorating tutorials for further inspiration.
Things you'll need
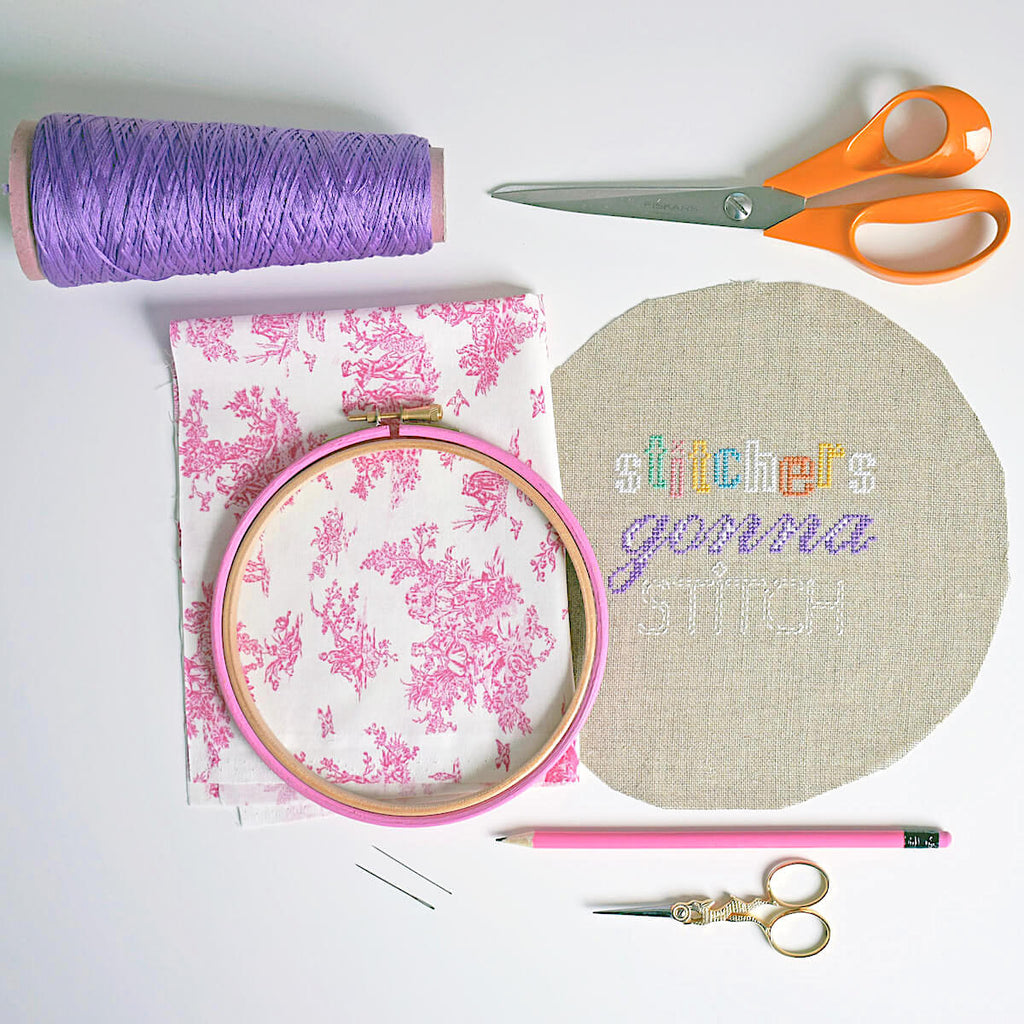
- Your finished piece of cross stitch
- An embroidery hoop
- Some backing fabric - cotton or felt works best
- Some strong cotton thread - embroidery thread works well
- A sharp needle
- Some fabric scissors and/or some embroidery scissors
- A pencil
Step one - prepare and personalise your backing fabric
Place your backing fabric, good side down, onto a flat surface (make sure it is ironed if necessary).
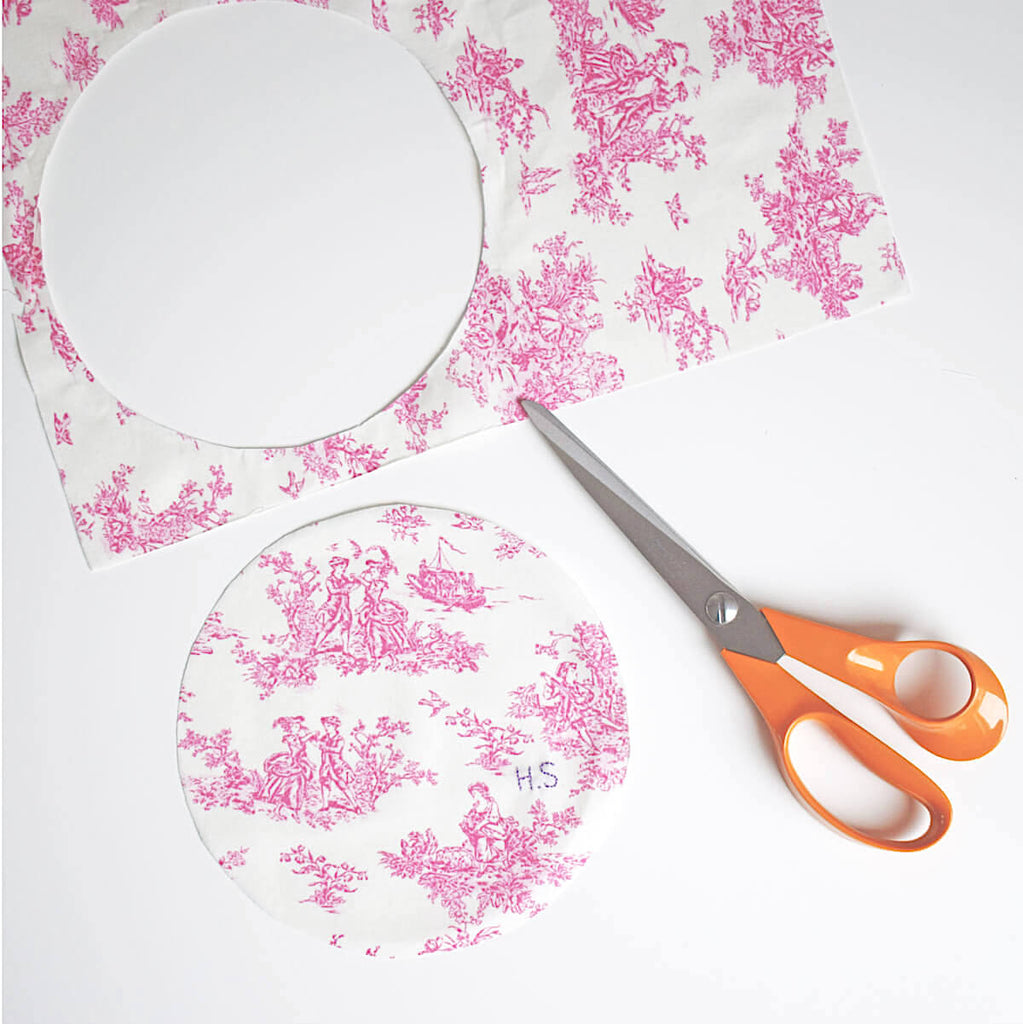
Place the larger ring of your embroidery hoop on to the reverse side of your backing fabric. Draw around the outside of the hoop with a pencil.

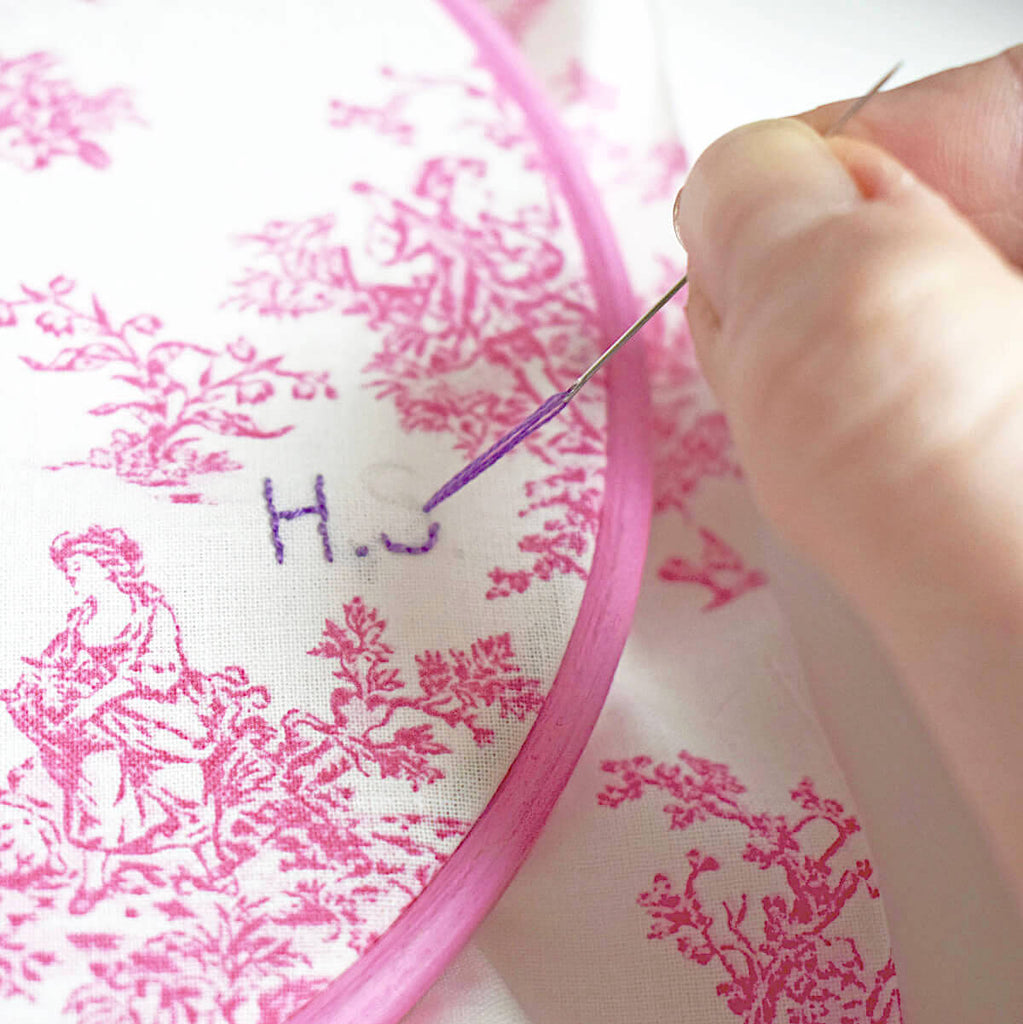
If you are making a gift of your piece of stitching, a really nice added touch is to embroider a message, your initials or the recipients initials onto the backing fabric that will go on the back of your hoop. The easiest way to do this would be to draw your message in pencil then chain stitch or backstitch over the top. Stitch any personalisation onto the right side of the backing fabric using the pencil drawn circle as your boundary area.
Once you have finished, carefully cut out the fabric following your pencil line and place to one side.
Step two - prepare your stitching
Carefully wash and press your finished piece of stitching (see our instructions for more help on this).
Place your piece centrally in the embroidery hoop. Take care over the placement of the stitching as this is where it will be forever! Pull taut and adjust until you are happy then secure the hoop tightly.
Cut off the excess fabric following the outline of the hoop, leaving a fringe of about an inch or two around the outside of the hoop.

Step three - gather the fabric
Cut a piece of thread long enough to go comfortably about two or three times around your embroidery hoop and thread your needle with it. You can use any strong thread for this. I tend to use several strands of embroidery thread together.
Leaving a tail of at least four inches, begin at the bottom of your hoop and make a nice even running stitch around 1cm away from the edge of the hoop, following its curve around the edge.
Continue all the way around the hoop finishing close to your first stitch and leaving another four inch tail. Trim away any excess thread.
Hold the hoop firmly in one hand and pull down on the two tail threads with the other until the fabric gathers tightly behind the hoop.
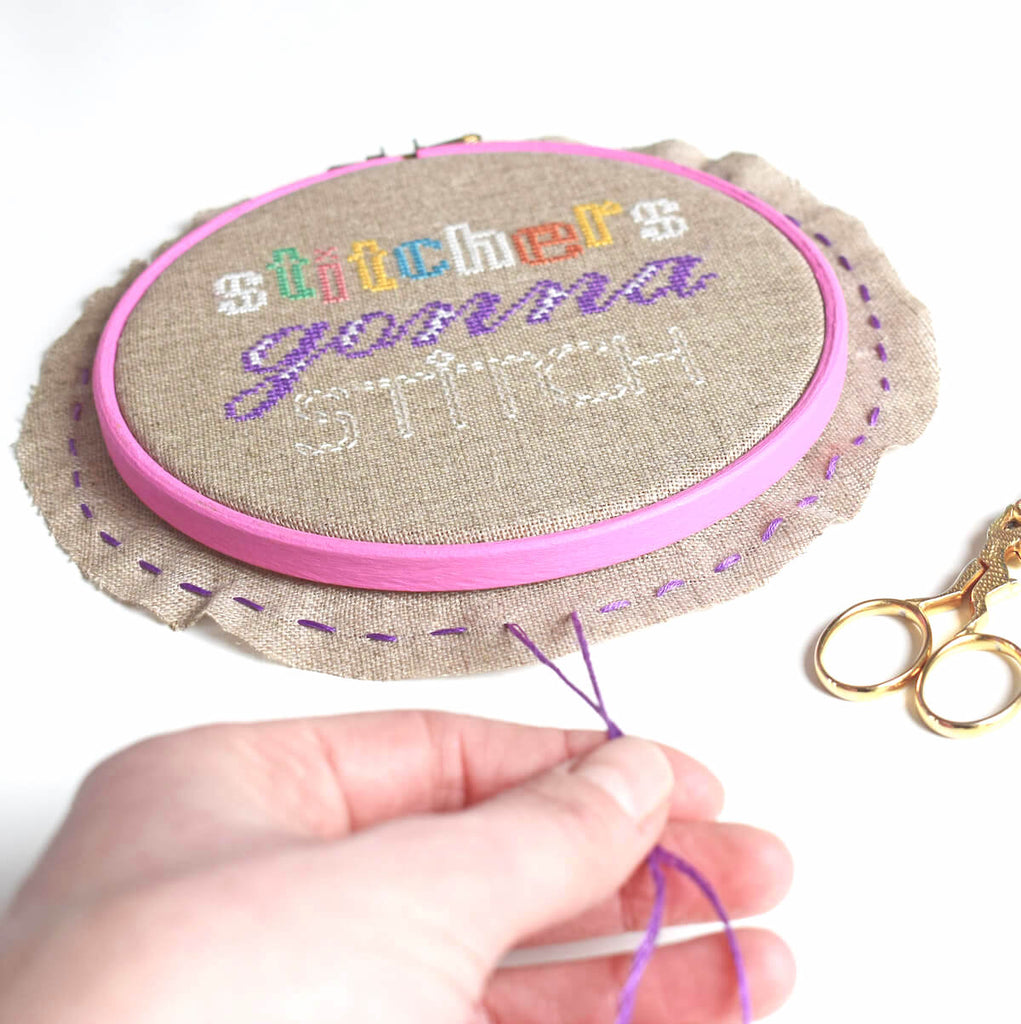
You’ll need a helpful friend for this part. Ask them to place their finger over the thread while you knot tightly. The key here is not to lose any tension in the thread.
Step four - adding the backing fabric
NOTE - you will find some tutorials teach you to glue your backing fabric to the hoop at this point. While this does give a nice neat and quick finish this is not my preferred method. I always have a nightmare that the glue will seep onto my beautiful stitching! Also glue is very permanent. Should you wish to wash your piece of stitching in the future, or want to change the backing fabric then this is only possible if you have stitched the backing fabric in place.
Remove the outer ring from your hoop. Don’t worry your stitching is secure and will not go anywhere.
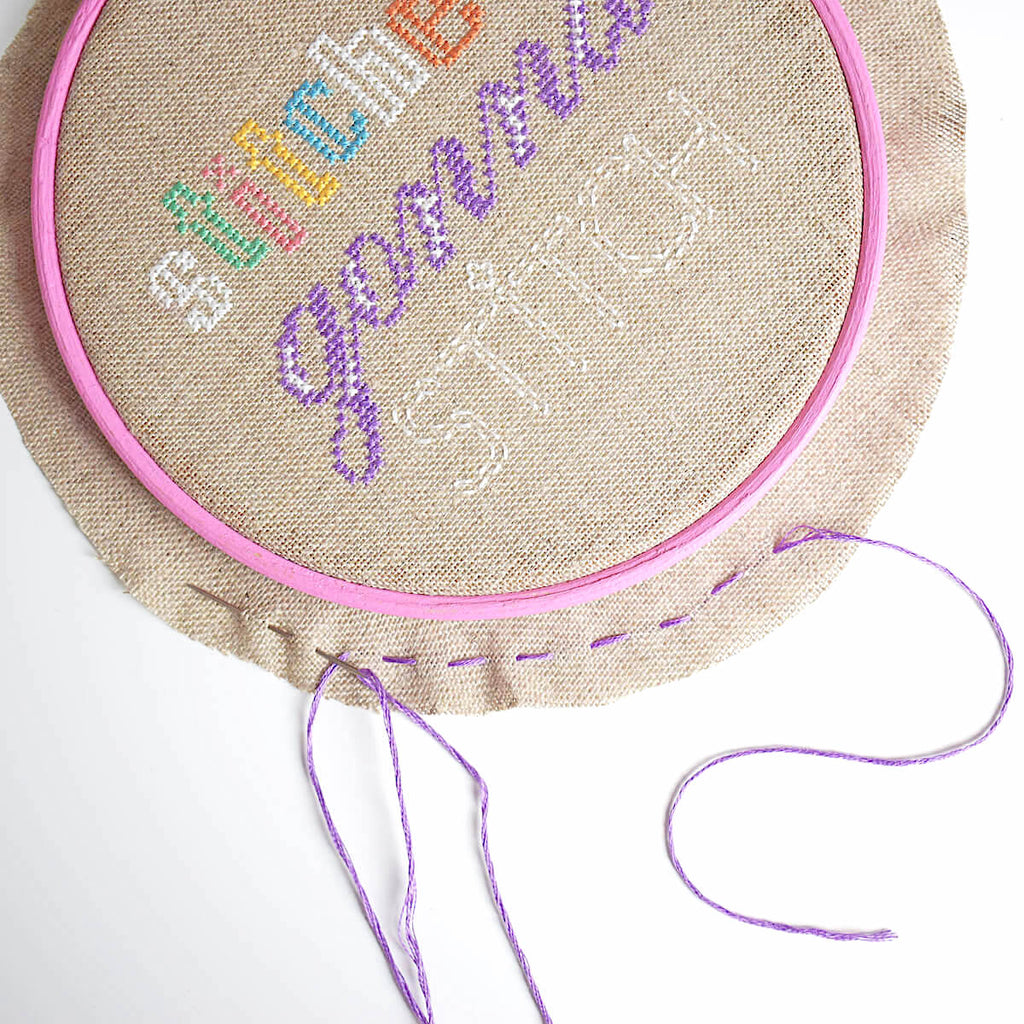
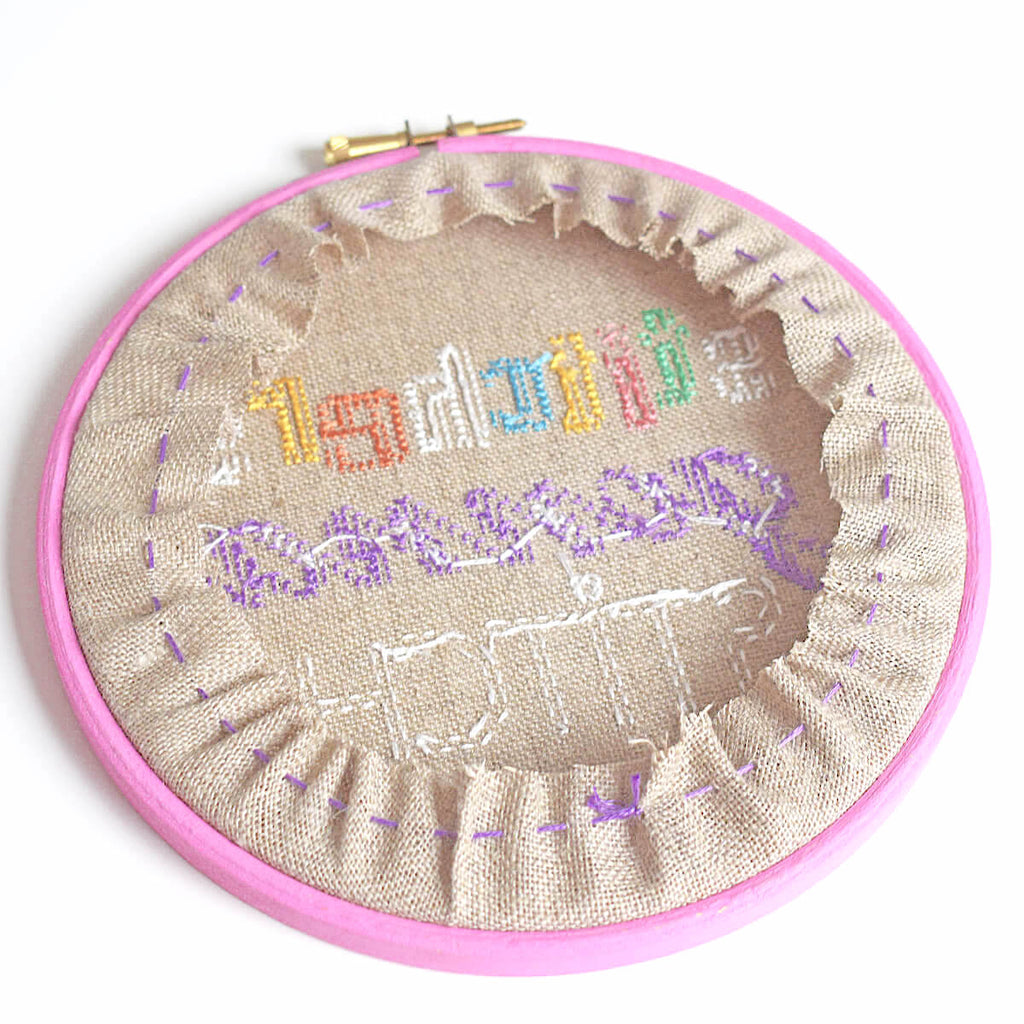
Thread your needle with a long piece of your strong thread or embroidery thread. You can tie a knot at the end of your thread before you start to secure it. Start anywhere other than the very top of your piece (as it may be visible near the hoop screw). Begin to attach your backing fabric using overstitch.
Ensure the edge of the backing fabric lies about halfway across the width of the hoop as shown in the image. This way the top hoop, once replaced, will cover your stitches.
Keep adjusting the backing fabric and pulling it taut as you complete your stitches to ensure a nice smooth finish.
Once you have stitched all the way around the edge, secure your thread neatly.

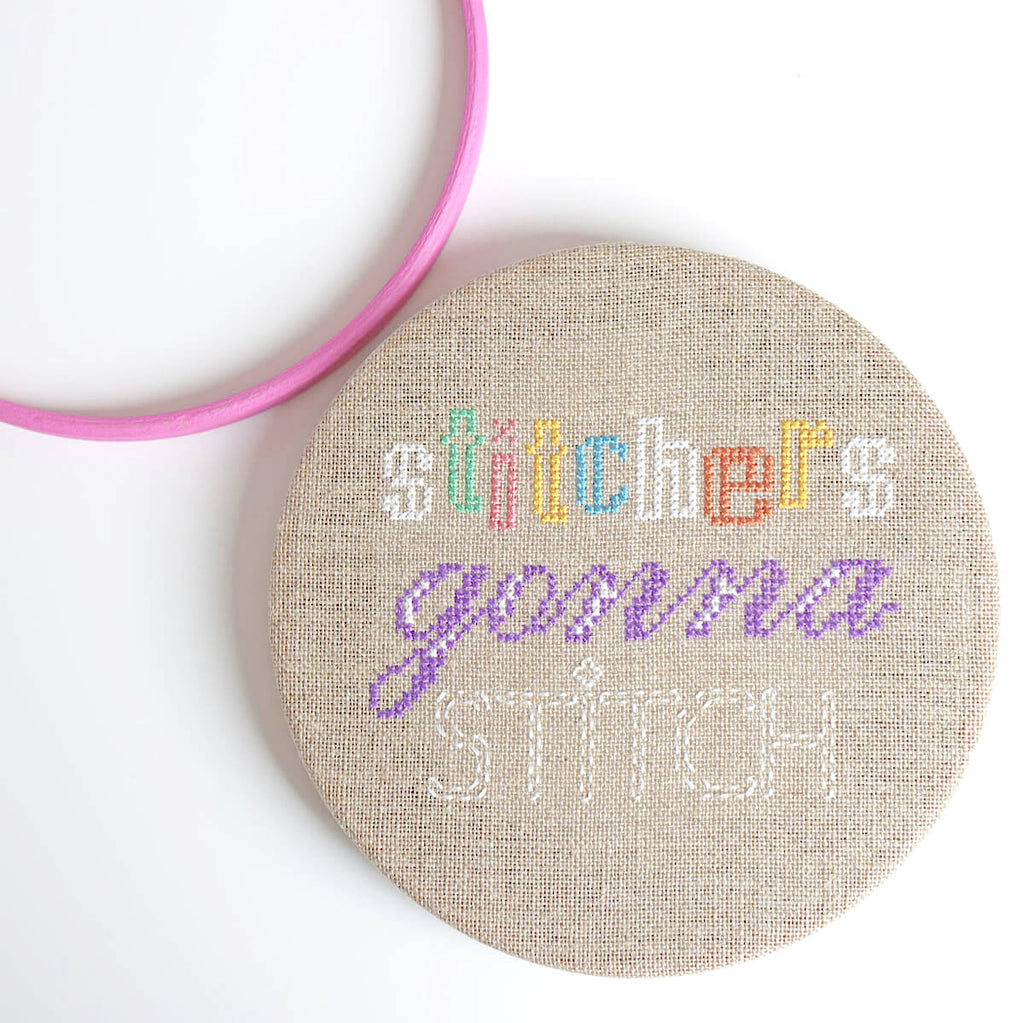
Replace the outer hoop. Add a ribbon or thread from the screw to hang your hoop if you wish et voila. C’est magnifiqué.
Ready to have a go? Try these kits and patterns that look great framed in a hoop.

 .
.  .
. 
