How to move around a cross stitch pattern
So you know how to make a few nice neat rows of cross stitches, but where some beginner stitchers can get into a tangle is how to move around a pattern. There is no real right or wrong way to do this and the more you stitch, the more you will discover your own rhythm and way of working. But, if you're getting in knots over it, here is an example of how we would tackle a pattern. Refer back to our how to cross stitch tutorial if you need help with the basics.
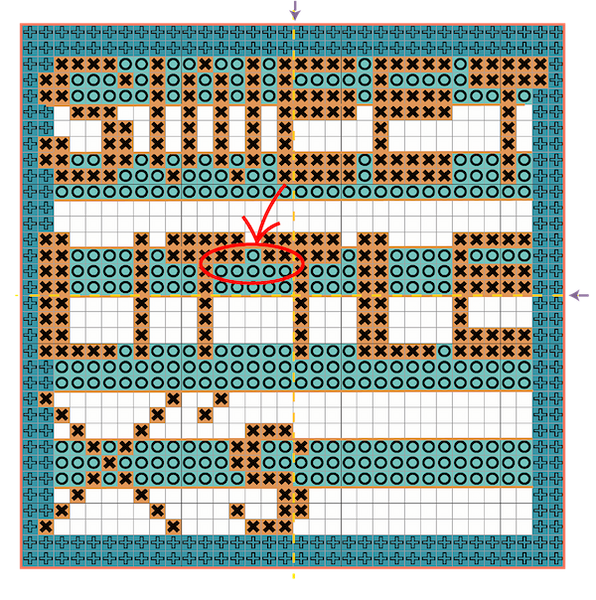
Starting in the centre of your pattern (the five stitches circled in red in the image above left) and the centre of your fabric, stitch your first row of five half stitches from right to left. Generally speaking our own preferred way to stitch is to do all the half stitches of one row of one section first, before coming back and completing the row of cross stitches. The reason for that is if you miscount, it is easier to unpick half stitches that whole stitches! Then come back to complete the cross stitches. 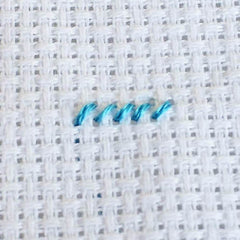
Once you have completed your first row of five complete cross stitches, move up one row to complete the row above.


As you can see from the pattern (and circled in red below), in the row above there is one single stitch in the centre of the third row. When you cross stitch, you want to limit stretching the thread across the back of the fabric in between stitches as much as possible as it can show through the fabric, or warp it if you pull too tightly. So here, we could have completed the second row exactly as the first, then just jumped across to do this one single stitch, but this would mean the thread would stretch across the back and you also would then not be in the ideal position to move to the next section of blue stitches.
The easier and neater way to do this stitch, is to do a complete cross stitch once you reach that point. So do three of your half stitches, then complete one whole stitch in the row above, then finished the second row of half stitches.
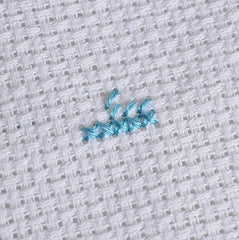

So once you have finished that row and if you are following our way of stitching, then your needle should have gone down through the fabric where the purple dot is on the image above. We now want to move across and stitch the section of blue to the right, as indicated by the red ring. To do that from our current position, bring your needle up through fabric where the yellow dot is. Then stitch three half stitches from left to right, pausing to complete the one cross stitch on the top row, before coming back and completing the cross stitches.
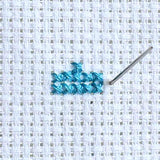
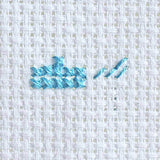
Once you have completed the middle and top row of cross stitches, you need to move onto the bottom row. Now if we continued to do a row of half stitches and then complete the cross stitches, the final stitch for this block would leave our needle in the centre, close to the yellow dot on our pattern above. This is not ideal, for moving across to the next blue colour block to be completed to the right (the section after the upright of the L). Therefore we are going to stitch this row one complete cross stitch at a time working from left to right.
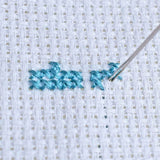
In the image above, you can see we have done a single cross stitch and here we hit an issue. In cross stitch, all bottom half stitches have to lie in the same direction, as do all top stitches. In the example above you may well have finished your cross stitch by taking your needle back down through the fabric in the hole that you naturally would want to come up to start your next half stitch. If you do this, the thread is going to unravel. Therefore you need to stitch the next half stitch 'in reverse' that is come up in the top right hand corner hole (as shown in the image) and come down for your half stitch in the bottom left hole. Then finish the block with the last two cross stitches.
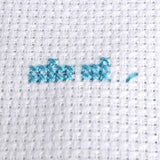

In this way move around your pattern. When you reach the final block of blue colour on the right, secure the thread then cut it off before restarting in the centre, stitching the blue blocks from the centre to the left edge. Using the same tips you can then fill in the peach letters, before adding the blue border around the edge.
So now can can confidently move around a pattern you can tackle anything. Here's a few examples of our kits and easy to follow patterns.


